
WELCOME TO THE
Signature Website Experience
You’ve just made a fabulous investment in your business. Congratulations!
This Welcome Pack
will guide you through…
Frequently asked questions - so you’re never left guessing
Your next steps - to make the journey easy and joyful
Tips for a seamless website build
And the process and project schedule
Please read the page in full.
Together, we’re going to create a website you love!

JUST A REMINDER, YOUR PACKAGE IS….
The Signature
Website Experience
6-Page Website Design + Copywriting
For wedding vendors who want a beautifully strategic website that attracts aligned couples and makes sales effortless.
You’ll walk away with a high-end, thoughtfully crafted Squarespace website that speaks straight to the heart of your ideal couple.
A site that showcases your artistry, demonstrates your value, and makes it effortless for dream clients to say “yes.”
Timeline:
3 weeks from kickoff to launch
Investment:
$4,400 AUD

What’s Included…
Strategy + Prep
Where clarity meets clever conversion psychology.
-
We’ll unpack your business goals, refine your brand personality, and decode what your ideal couples really want, so your website feels unmistakably you, and strategically irresistible to them.
-
I’ll scope out the competition and get the lay of the land before I start designing, so that we can find the juiciest competitive advantages.
-
A clear, intuitive flow built to guide couples effortlessly from “just looking” to “let’s book.”
-
Smart, simple SEO woven into your site so the right couples can find you without the tech overwhelm.
Design + Copywriting.
Beautiful, strategic, and conversion-ready.
-
(Eg: Home, About, Services, Portfolio, FAQ’s, Contact)
A refined, high-end design tailored to your brand, designed to impress and built to convert.
-
Emotionally aligned, professionally written copy for every page; crafted to build trust, demonstrate value, and move couples from curious to committed.
-
I’ll add your Privacy Policy, Terms, and any required pages (you provide the content) to keep your site polished and compliant.
-
Email marketing, booking tools, and social channels, all connected and working seamlessly before launch.
-
Support connecting your new or existing domain without the tech headache.
Launch Kit
Launch your new website with excitement, ease, and confidence.
-
Beautiful, on-brand posts to announce your new site with flair.
-
A ready-to-send message for your list, past clients, or warm enquiries — crafted to drive immediate traffic.
Post-Launch Support
Feel seen and supported as you navigate your new website.
-
Ask questions, get guidance, and feel supported as you settle into your new online home.
-
Small refinements included, to make everything feel just right.
-
Simple, easy-to-follow tutorials to help you confidently maintain and update your site.
Frequently Asked Questions
First things first, let’s clarify a few commonly asked questions, and then we can move on to getting all prepared for your new site design!
-
3 weeks from kickoff to launch.
But your prep work must be completed before kickoff. I recommend starting this ASAP. -
On the last week of our 3 week design period, just before we launch your site, your final 50% remainder payment will be due.
You’ll receive a reminder email.
-
Most of my clients require the Squarespace Business Plan, but this depends on which features and functionality your website will have. I’ll help you pick the best plan for you when we get on our launch call on the final day of the design period.
You’ll pay for your plan subscription when we launch your site.As a perk of working with me you’ll receive 20% off your Squarespace plan for the first year if you purchase an annual plan.
-
I don’t use templates, I prefer to build fully custom, so that you get the perfect fit for your business.
We can always take inspiration from designs and templates that you love, and then create a custom design from there.
If you have a template you really want me to use, I’m more than happy to customise the one you’ve chosen.
-
In order for us to make the most effective use of our 3 weeks together, we’ll need your content and prep-work submitted by the Thursday before your design period.
-
To be fair to you, and every other client in the design calendar, I stick firmly to my design schedule. All my clients would be upset if I pushed back their design date because a client earlier in the schedule wasn’t ready.
If you’re worried you won’t be able to meet the content
deadlines, send me an email (hello@letitiabracken.com) and I’ll let you know the next available date in my design calendar.
Please note, 10 business days or later after booking, there are financial repercussions to changing your design date.
Your 50% deposit holds your place in the design calendar, and that spot is no longer available to be booked by anyone else. If you change your design date within 10 business days of booking, your deposit will be used to hold your new date in the design calendar.
If you change your design date 10 business days or later after booking, your deposit cannot be used towards another design date and will not be refunded.
-
The next steps are outlined below. Please read them carefully.
YOUR NEXT STEPS
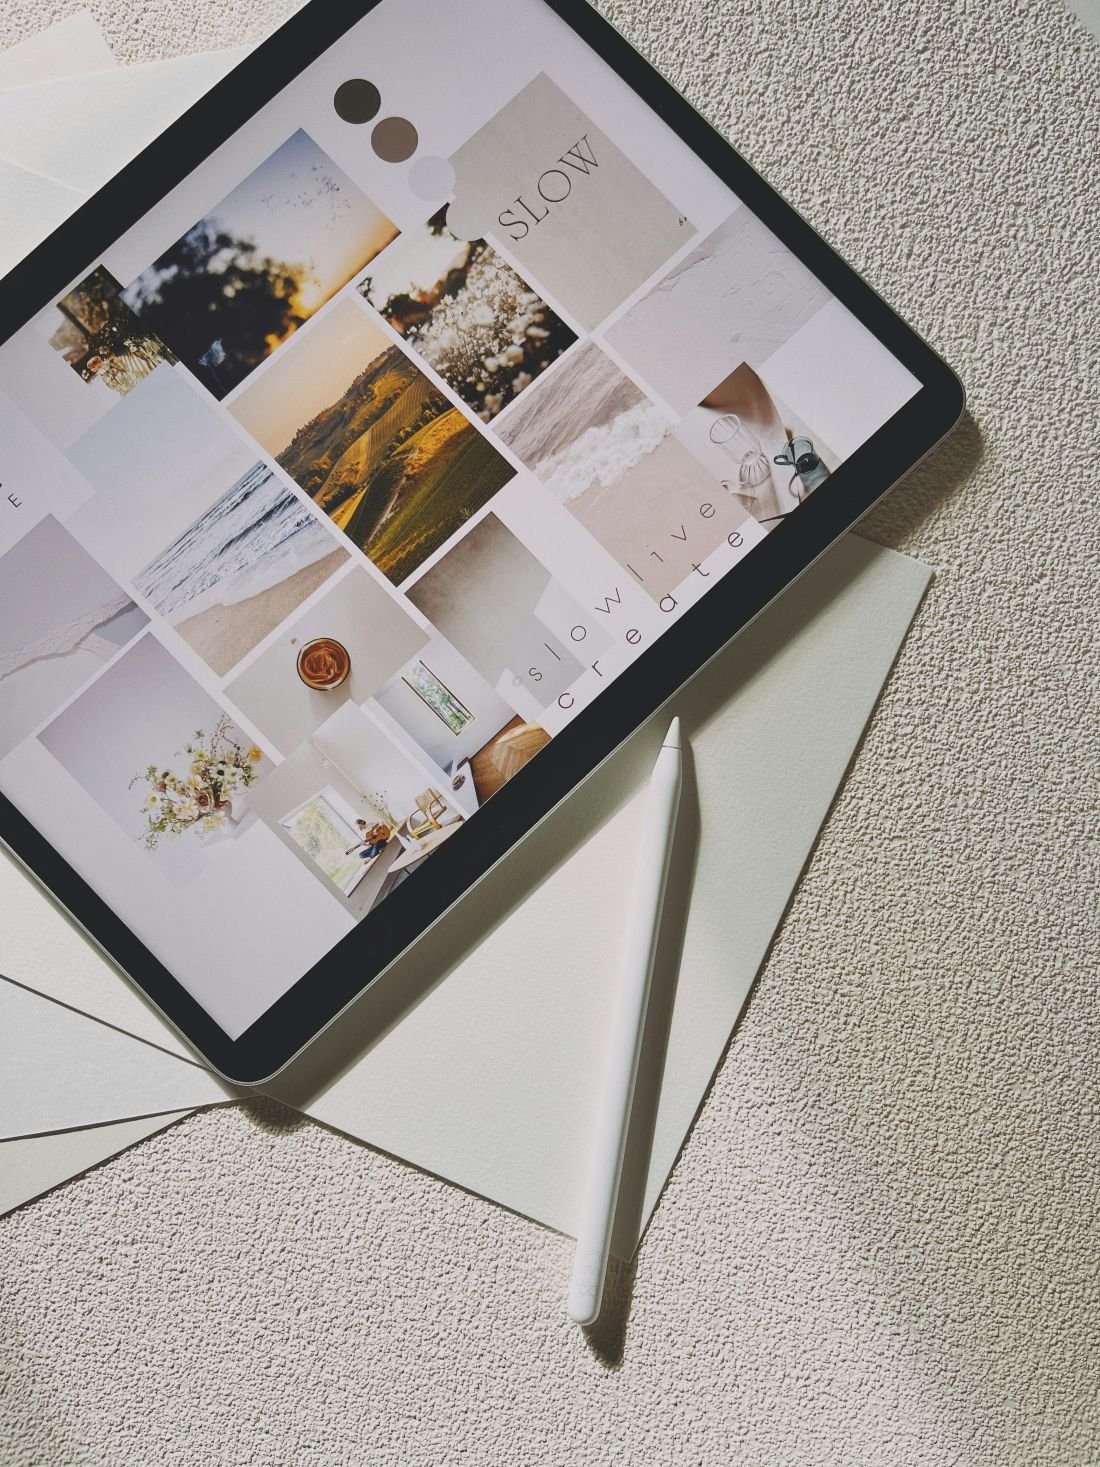
Step 1: Pinterest Inspiration Board
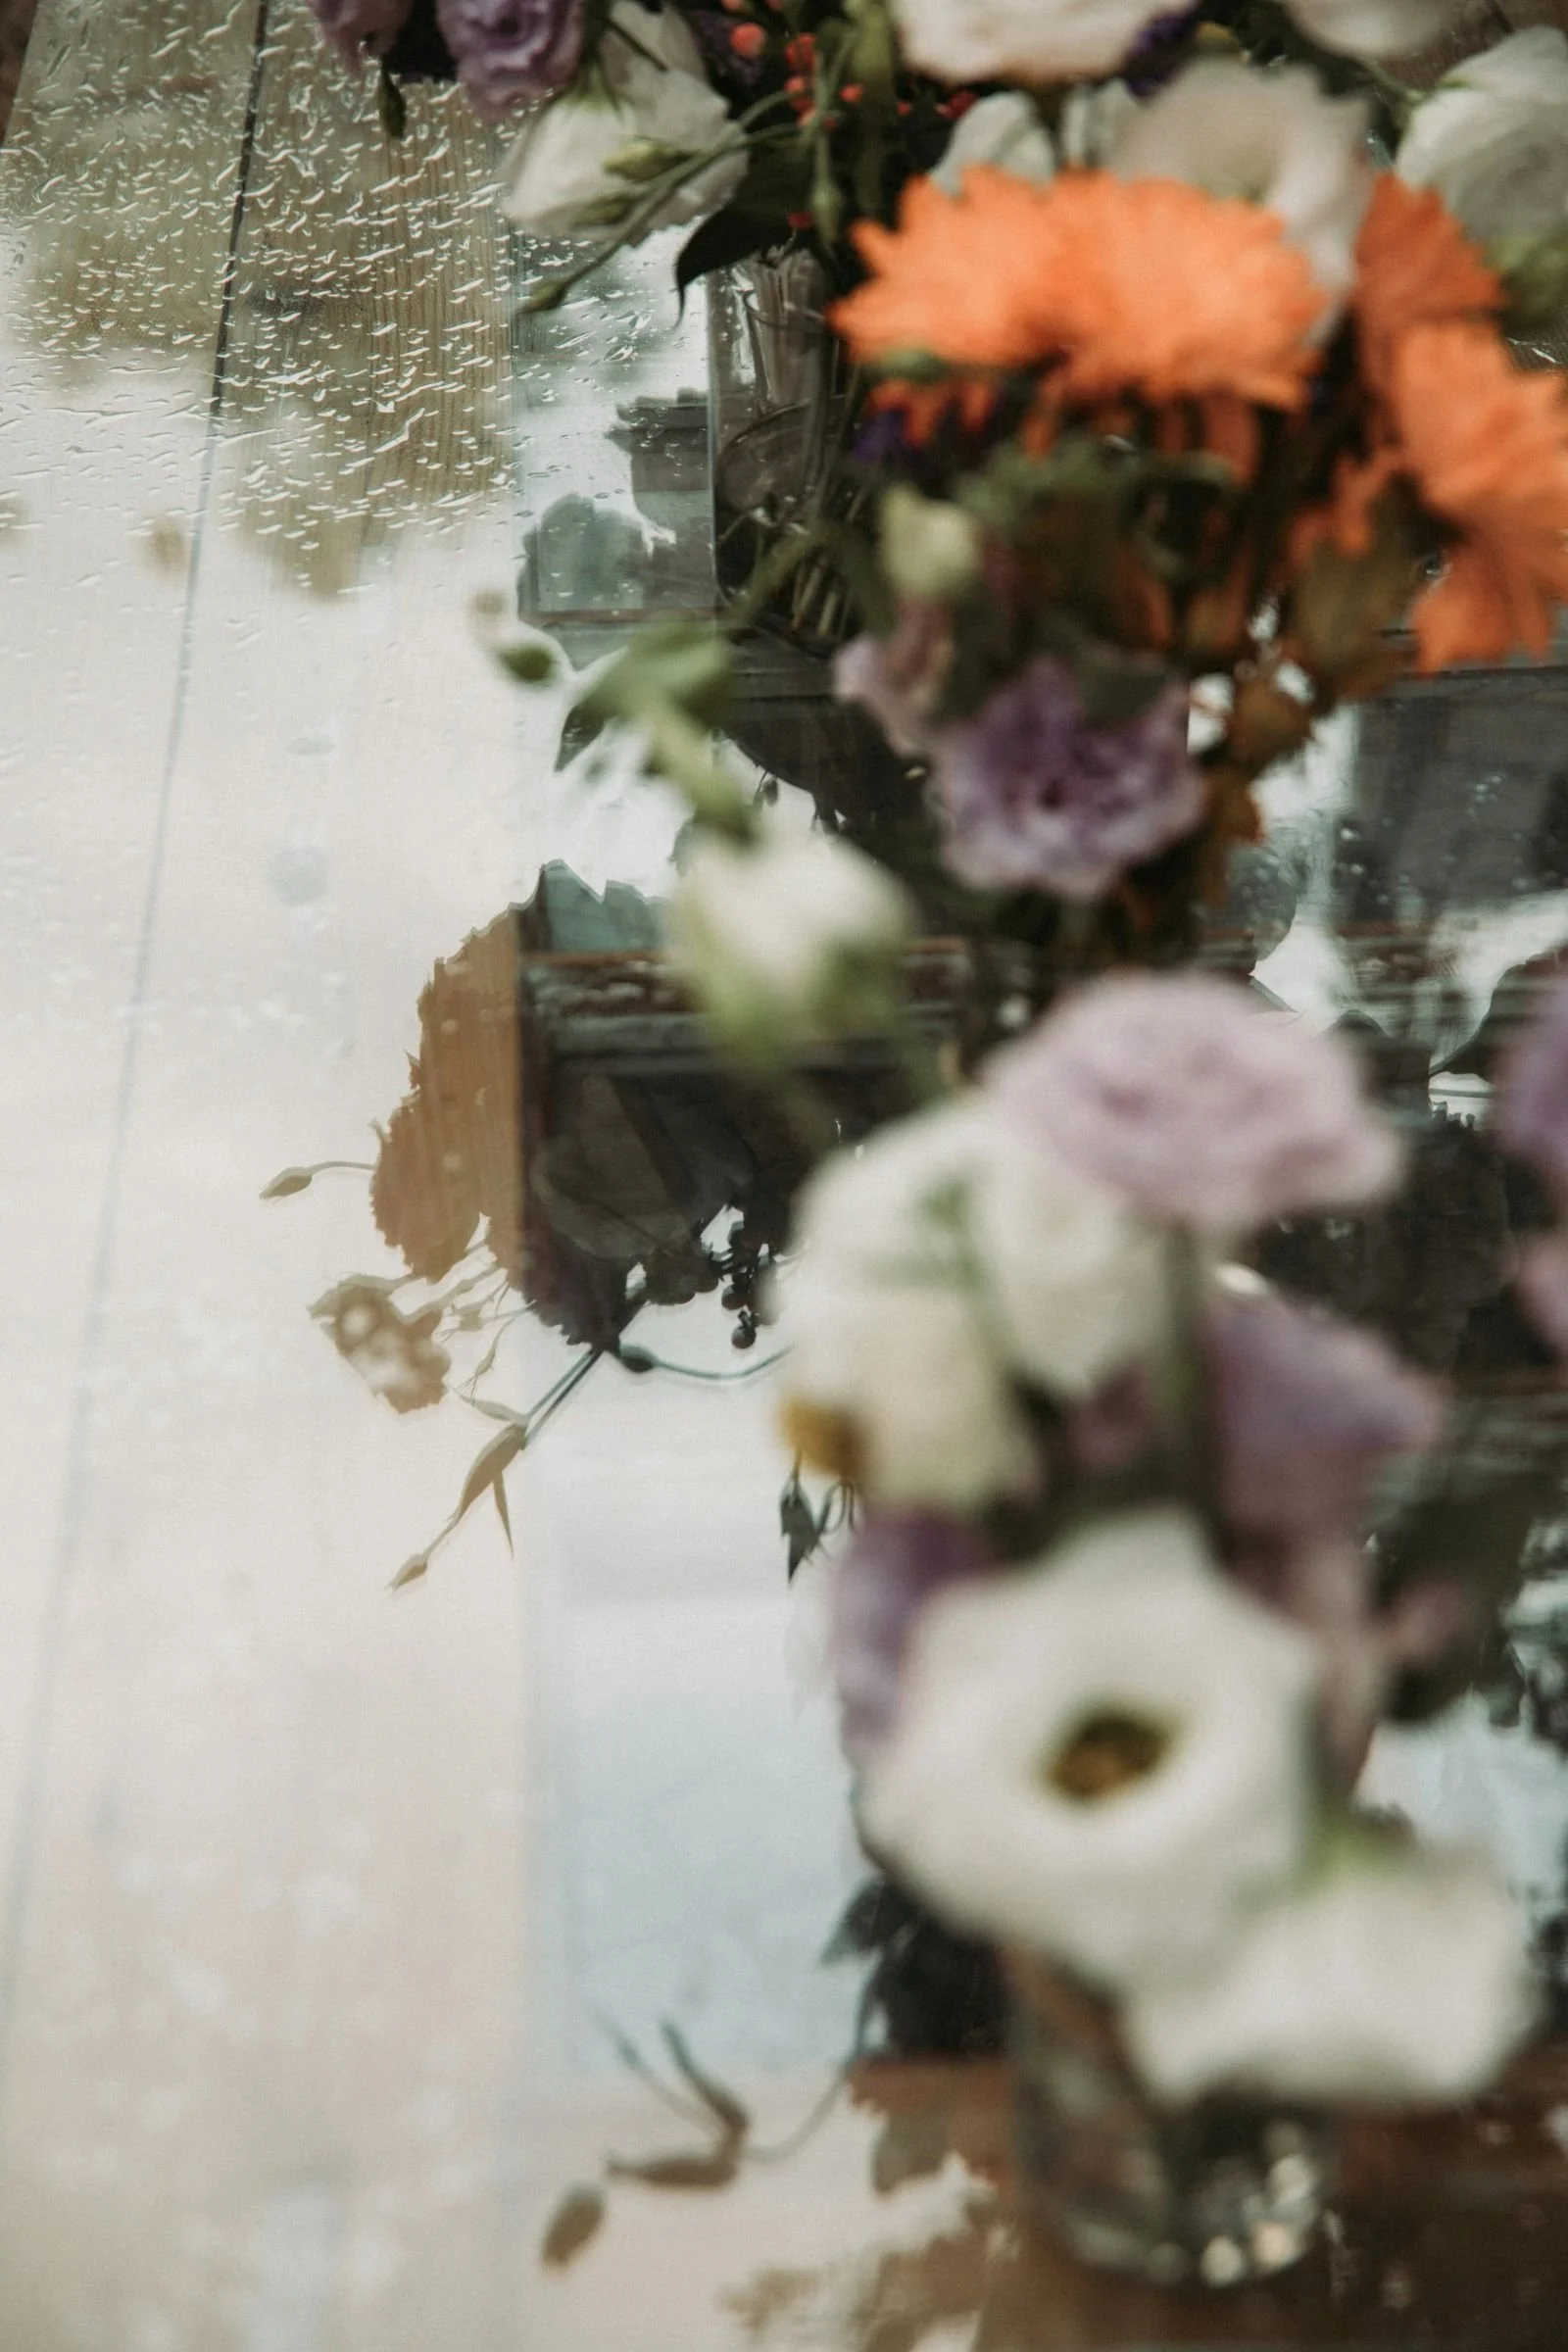
A Pinterest inspiration board will communicate visually how you would like your new website to look and feel. The images don’t need to be of other websites necessarily, choose images with a look and feel that encompasses how you’d like to present your business vibe and style-wise.
While you may pin images of other websites, I find my clients often like to also pin lifestyle Instagram images, patterns, logos, graphics, and paintings which speak to the overall style that would appeal to their ideal clients.
» Tip: Pin as many images as you like (the more the better) and I will look for similarities between them.
» Submit: Add your Pinterest board link to your Web Design Intake Form.

Step 2: Complete the Web Design Intake Form
You’ll receive an email directing you to your Web Design Intake Form. The form will ask you for all the important details to create your website. This includes basic site info, questions about your style & brand, requests for inspiration and competitor websites.
Please take your time completing this. You can save your progress and come back at anytime.
Be sure to complete the form in it’s entirety, with the exception of when some form fields don’t apply to you. For example, you run a purely online business, so you don’t have a physical address.
» Submit: Simply hit ’submit’ on the form once complete.
» Important: Please don’t feel overwhelmed by the questionnaire, just complete it to the best of your ability. We will deep dive into your website and marketing strategy in our strategy workshop on day one of the design period.

Step 3: Access Your SharePoint Folder & Upload Your Brand Assets
You’ll receive a link to your dedicated SharePoint folder in your welcome email.
Please open the folder and take a few minutes to familiarise yourself with how everything is organised — this is where we’ll collaborate and share files throughout the project.
Inside your SharePoint folder, you’ll find a sub-folder called Client Brand Elements.
This is where I need you to upload all of your brand assets.
Please upload the following into the ‘Client Brand Elements’ folder:
Logos
Your primary logo
Light version (for dark backgrounds)
Dark version (for light backgrounds)
Logo files supplied as PNG (no background)
If you have alternative logo marks, submarks, or icons, feel free to include those too.
Brand Colours
A brand guidelines document (if you have one), or
A simple list of your brand colours and HEX codes
Fonts
Your brand fonts in web-ready formats (OTF or WOFF files are best)
Please ensure all fonts are fully licensed for web use
No free fonts from DaFont or similar sites, as these are not licensed for commercial websites
If you’re unsure about your font licensing or don’t have access to the files, let me know — we can absolutely work through this together.
Step 4: Compile Website Copy Information
A design without content will make your website look a little ... well, naked. So let’s get some text and photo content ready, shall we?
Website Copy:
Website copy (AKA the words for your website) is included in your package, so you don’t need to worry about writing it. Phew!
But you do need to start thinking about what you’d like included on your website, and then compile some items that will make it easier for me to write your copy.
There’s a sub-folder in your SharePoint folder named ‘Website Copy Info Point’.
Please use this to upload the following items for me:
Any brochures/advertising material that will help me understand your product/service.
Information on your packages, offerings, products, services, inclusions, guarantees, pricing structures, timelines and processes.
Testimonials you’d like to use on your website.
Case studies of past projects or client success stories.
Marketing or brand voice guidelines
Information on team members that you’d like featured on your about page.
You’ll also want to start thinking about:
• Your brand story. How did you get here, and what are the important milestones in your journey? (don’t worry, we’ll deep dive into this together)
• Your ideal customer. Who are they, what makes them tick, and how do you serve them? Chat to your team members to get their thoughts. (don’t stress though, we’ll deep dive into this together too).


Step 5: Upload Your Photos
The number 1 thing that will make or break your website? Your photos.
It’s time to gather all those photos you’d like on your website into one folder. Here’s some answers to commonly asked photo questions.
» What size/quality should my images be?
Your website will be responsive, meaning the size of the page and images change depending on the size of the screen it’s viewed on. While a photo taken on a mobile phone might look okay on a smaller screen, when it’s viewed on one of those large desktop screens, we run the risk the image will get blurry and will really detract from the quality of the look of your website.
As a general rule of thumb, I suggest staying away from photos taken on a mobile phone. The best images are those taken with a DSLR camera.
» I don’t have any images, can I take some off Google, or another page on the internet?
Please, please, please do not do this! Every photo is licensed under copyright law automatically the second it’s taken. So those photos on Google belong to someone and the last thing we want is his/her lawyer sending you a bill.

Don’t fret, there’s a few options if you don’t have images.
1st: Grab a camera and take some
2nd: Hire a photographer to take some for you (my recommendation)
3rd: Use copyright free images found online
4th: Buy some stock photos
» Copyright free photos:
Copyright free photos are those which a very kind person decided to let anyone use, without paying and without needing to link back to the image source.
» Stock photos for purchase:
These are photos, generally taken by a professional photographer, which are made available for download online for a fee.

*Please note it is the clients responsibility to ensure the photos chosen to use on their website are either copyright free, the stock photo license is correctly paid for, or they own the copyright. The site designer will not double check the client has the right to use the photos provided, and will not be held responsible for any copyright infringement issues that may arise from the use of photos provided to be used on the clients website.
» Tip: Want a certain image on a certain page? Not a problem at all. When you upload the image to your Share Point folder, name the image with the title of the page you want it on. So instead of the image being called ‘SM4247’ you’ll want to rename it ‘About page’ or ‘Home page.’
Or your welcome to create sub folders within your Share Point photo folder.
» Submit: Pop all of your images into your sub-folder ‘Client Photo’s Upload Point’


5 TIPS FOR A FLAWLESS DESIGN PROCESS
TIP #1
Upload all text and photo content to your Share Point folder and sub-folders, instead of sending by email. Things tend to get lost in the back and forth of messages.
TIP #2
You’ll want to ensure all your content is prepared before your design start date; I really can’t stress this enough. Creating a website and full website copy in 3 weeks is only possible when content is ready prior to the start date.
TIP #3
It’s best to set aside a little time during the 3 weeks that we’ll be designing your website to give yourself a chance to respond to emails, give feedback and request edits.
Accidentally picked a design date that you’ll be travelling, or you know will be super busy? See the FAQ section. There’s a possibility of rebooking your design date within a certain time frame before there are financial repercussions
TIP #4
Clients who are deadline-oriented love working with me because they know their website will be ready in 3 weeks. The challenge? We only have 3 weeks to get it done! Ensure you have your smartphone close by during our 3 week design period.
I’ll send you emails asking for your feedback, and because we’re creating a masterpiece on a quick timeline, it’s important to respond to emails within 24 hours.
TIP #5
I’m all yours for 3 weeks, and I’d love to help you with any questions you may have. Don’t be afraid to reach out.
PROCESS & SCHEDULE
Here’s a look at our project timeline moving forward.
For both of the calls, I’ll send you an email 1-2 days prior to book a call time.
Legend:
Client work
Designer work
Teamwork
Pre-Design
Create Pinterest inspo board
Complete form
Compile content in folders
Week 1 Monday
180 min strategy workshop
Week 1
SEO, keyword + competitor research
First draft of website copy
Home page designed
Website copy & homepage reviewed
Week 2 Monday
Website copy edits requested
Home page reviewed, feedback given on creative direction
Week 2
Website copy edits made
Full desktop + mobile website design
Links embedded
Functionality added
Week 4
Full site edits requested
Edits completed
Search Engine Optimised
3rd party integrations connected
Functionality tested
Finishing style touch-ups
Week 4 Friday
Website launched
Pop the bubbly!
